Step-by-Step Onboarding Walkthrough
The Step-by-step guide panel walks you through every action needed to go from a fresh module install to live Facebook and Instagram ads, so you never have to guess what to do next.
Available since v2.5.0
Overview
When you first install the module, the Step-by-step guide tab appears at the very top of the navigation bar — before the Dashboard. It presents a Quick Start Guide divided into five numbered steps, covering feed configuration, Meta Business Manager setup, product sets, ad creation, and advanced features like multi-language feeds and retargeting.
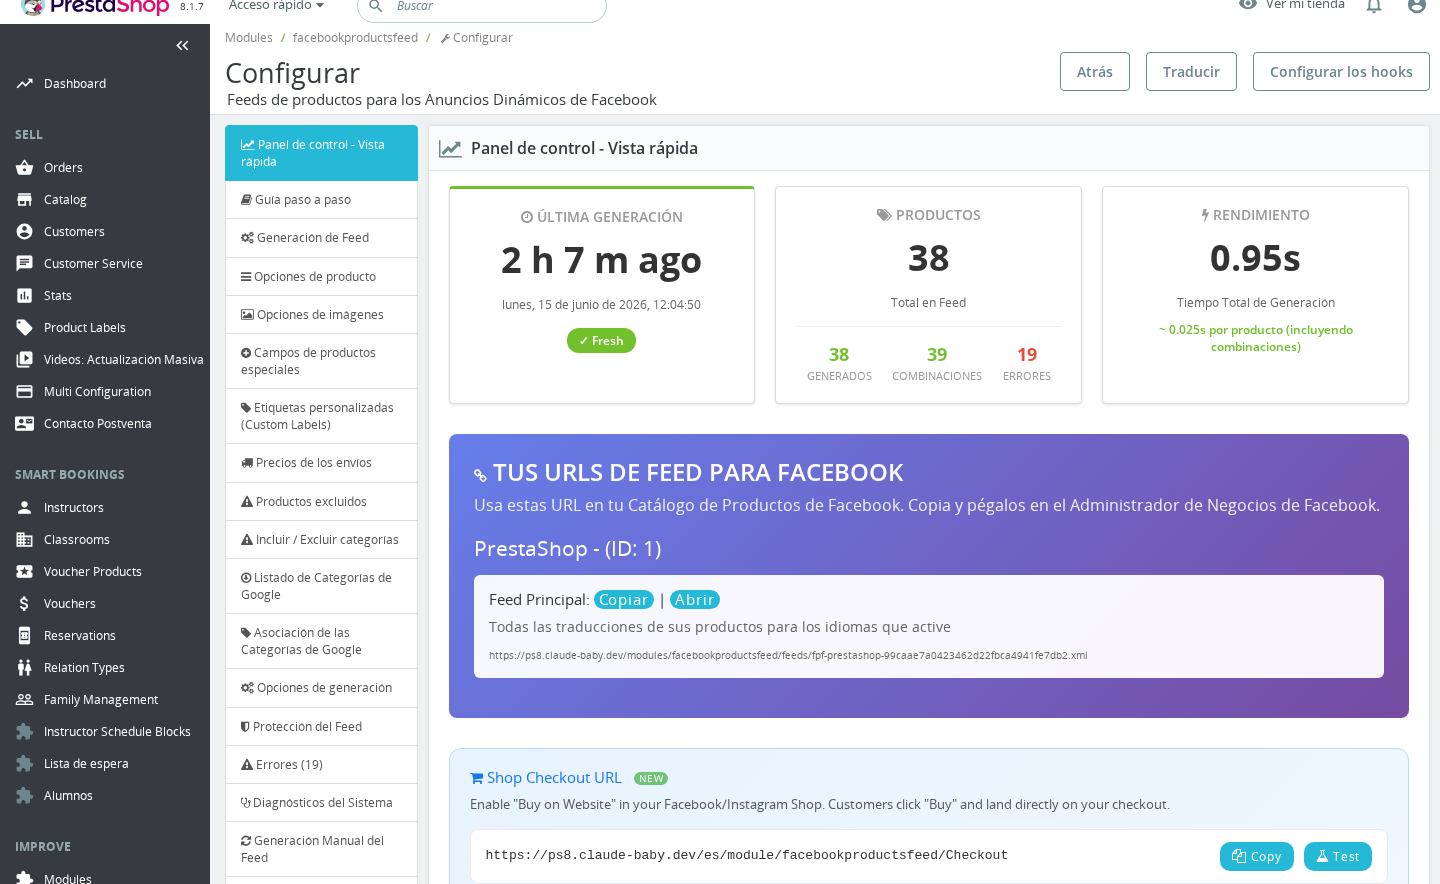
Once you generate your first feed, the panel moves below the Dashboard. It remains fully accessible — it never disappears — so you can always return to it as a reference.
Step-by-Step Walkthrough
Step 1: Configure and Generate Your Feed
The first step asks you to review the module's configuration sections before running your first generation. The panel links directly to each relevant tab:
- Product Options — choose which products to export, how prices are calculated, and whether combinations are included. See also Pricing, Tax & Stock and Combinations.
- Image Options — select image size and enable additional product images.
- Special Fields & Custom Labels — tag products as "New", "On Sale", "Bestseller", or apply custom values that Facebook uses when you build product sets.
- Google Product Category Association — map your PrestaShop categories to Google Shopping taxonomy for better ad targeting.
- Product Exclusion — exclude specific products by ID or exclude entire categories from the feed.
After reviewing configuration, the panel directs you to Manual Feed Generation to run your first feed. Click the Generate Feed Now button in that tab and wait for the page to confirm completion.
Once generation finishes, review the result before moving on:
- Open the Dashboard (Fast View) tab and check the total product count and feed file size. If the numbers look unexpectedly low, something is filtering out products.
- Open the Errors tab to see any products that failed to process, with the reason for each failure. Fix the underlying issue and regenerate.
- Open the Skipped Products section (also in the Dashboard or on the Errors tab depending on your version) to see products the module intentionally excluded — for example, out-of-stock products if you have configured those to be omitted.
- Open the System Diagnostics tab to confirm server requirements are met: cURL availability, write permissions on the
feeds/folder, PHP memory, and any other warnings the module flags.
Repeat the configure → generate → review cycle until the feed looks correct. Only then move on to the cron job step below.
Finally, you are prompted to set up a cron job so your feed stays current automatically. The panel links to the Automatic Generation (Cron Jobs) tab, where you will find the exact cron command and recommended frequency. Updating every 1–6 hours is appropriate for most stores.
There is also an optional step to configure the Shop Checkout URL if you want customers to buy directly from a Facebook or Instagram Shop and land in your PrestaShop checkout with their cart already populated. See Shop Checkout URL.
A video walkthrough is embedded in this step (YouTube, MnNyKNexLJ0) for merchants who prefer a visual guide.
Step 2: Connect to Meta Business Manager
This step covers the actions you take inside Meta, not inside PrestaShop:
- Go to business.facebook.com and sign in. If you do not have a Business Manager account, you will be prompted to create one during sign-in.
- Open Commerce Manager from the Business Manager menu and click Create Catalog. Choose E-commerce as the catalog type and give it a descriptive name.
- Inside your new catalog, click Add Items > Use Data Feeds > Scheduled Feed. Paste the Main Feed URL from the module's Feed Generation tab. Set the scheduled update to every 1–6 hours so Meta always sees your current inventory and prices.
Step 3: Create Product Sets
Product Sets let you group products inside Meta for targeted campaigns. In Commerce Manager, navigate to your catalog and open Product Sets. Create sets based on:
- Category (for example, "Men's Shoes" or "Summer Collection")
- Custom labels you configured in the module (for example, "New Arrivals", "On Sale", "Bestsellers")
- Price ranges, brands, or availability
Each product set can be used independently in Ads Manager, so you can run different budgets and audiences for different parts of your catalog.
Step 4: Start Advertising
Open Ads Manager and click Create Campaign. Select your objective (Sales, Traffic, or Engagement), then choose Catalog as your ad format and pick the product set you created in Step 3. Set your budget, targeting, and placements, then launch.
Step 5: Advanced Features
The final step explains the three feed types and introduces dynamic retargeting:
Feed types explained:
- Main Feed — all your products in your store's default language and currency. This is the feed URL you gave to Meta in Step 2.
- Languages Feed — a single feed that contains all translations for the languages you have enabled in the Additional Languages tab. Use this when you are targeting audiences in multiple language regions from one catalog.
- Countries Feed — a single feed with country-specific price and currency overrides. Use this for international campaigns where pricing differs by country.
You will have at most three feed files total. Enable the Languages and Countries feeds in the Feed Generation tab when needed; they are off by default.
Dynamic retargeting: By pairing your product catalog with your Facebook Pixel, you can automatically show personalised ads to visitors who viewed products but did not buy, abandoned a cart, or purchased before (for cross-sell and upsell). No additional module configuration is required for this — the feed powers it.
Shop Checkout URL: If you enable "Checkout on another website" in Meta Commerce Manager, customers who click Buy in your Facebook or Instagram Shop are redirected to your PrestaShop checkout with the product already in their cart. Configure the redirect URL in the Shop Checkout URL tab.
When the Panel Disappears or Moves
The Step-by-step guide panel never disappears. What changes is its position in the navigation:
- Before your first generation: the Step-by-step guide tab appears first in the navigation bar, above the Dashboard, so it is the first thing you see when you open the module.
- After your first generation: the two tabs swap — the Dashboard moves to the top and the Step-by-step guide moves below it. This happens automatically as soon as the module records a completed generation (tracked via the
FPF_FIRST_GENERATEDconfiguration key).
If you need to revisit the guide after generating your first feed, click the Step-by-step guide tab in the navigation — it is always there.
Notes
- The onboarding panel contains no configurable fields. It is purely informational and navigational.
- All deep links in the panel (for example, "Click here to configure Cron Jobs") jump directly to the relevant tab within the same module configuration page. They do not open external pages.
- The panel is visible to all Back Office users who have access to the module configuration page, regardless of shop context.
- The embedded YouTube video requires an internet connection. If your server environment blocks outbound connections or your browser blocks third-party iframes, the video area will appear blank. All the written steps remain fully functional.