Google Merchant Center Setup
Submit the product feed this module generates to Google Merchant Center using GMC's scheduled-fetch mechanism, so Google Shopping and Performance Max campaigns always see your current inventory and prices.
Available since v2.5.0
Overview
The module generates an XML product feed file on your server. Google Merchant Center (GMC) accepts feeds via a scheduled fetch — you give GMC a URL and a refresh interval, and Google downloads your feed on its own schedule, typically once or twice per day.
Your job in the module is threefold:
- Generate the feed in the right format and make sure it stays fresh automatically.
- Map your store categories to Google's product taxonomy so GMC can classify your products correctly.
- Give GMC the correct feed URL — including any authentication credentials if you have protected the feed.
None of this requires a direct API connection between the module and Google. The module writes the feed file; Google fetches it on its schedule.
Step 1: Choose the Right Output Format
The module supports two XML formats: RSS XML and ATOM XML. Both are accepted by Google Merchant Center for scheduled-fetch data sources.
Go to Modules > Module Manager > Facebook & Instagram Product Catalogue Feed Pro > Configure, then click the Generation Options tab.
| Field | Values | Default | Notes for GMC |
|---|---|---|---|
| Select the generation output format | RSS XML, ATOM XML | ATOM XML | ATOM XML is the default and works with GMC. RSS XML is also accepted. Keep the default unless you have a specific reason to change it. |
ATOM XML is the default and is preferred by Google. Unless you are told by another platform to switch to RSS, leave this setting as-is.
For full details on format differences and cURL generation options, see Generation Options — Output Format & cURL.
Step 2: Set Up Google Product Categories
Google Merchant Center requires — or strongly recommends — a google_product_category value on every product. Without it, GMC may classify your products incorrectly, lower your listing quality score, or reject products in certain categories (such as apparel).
The module populates this field automatically for every product, based on the category mapping you configure.
2a: Download the Google Taxonomy List
Before you can map categories, you need a local copy of Google's official taxonomy list.
- Go to Modules > Module Manager > Facebook & Instagram Product Catalogue Feed Pro > Configure.
- Click the Google Product Categories List tab.
- Click Download Google Product Categories.
The module fetches the taxonomy from Google's servers and saves it locally. A confirmation banner appears when done. This is a one-time action — you only need to refresh the file when Google publishes taxonomy updates (a few times per year).
See Google Product Categories — Taxonomy List Download for troubleshooting and details on language fallback behavior.
2b: Map Your Store Categories to Google Taxonomy
Once the taxonomy is downloaded, open the Google Product Category Association tab. You see your store's category tree with a text field next to each category.
- Click a category's text field and start typing a category name or numeric ID.
- Select the matching entry from the autocomplete dropdown.
- Repeat for each category that contains products you want to appear in GMC.
- Click Save.
To assign the same taxonomy to multiple categories at once, use the Massive category association section at the bottom of the panel: tick the categories, type the target taxonomy, and save.
Products in a category with no Google taxonomy assignment are still exported — they simply lack the
google_product_categoryfield. GMC accepts the feed but may flag those products as low-quality or classify them automatically. For best results, map every category that contains active products.
You can control whether the taxonomy appears in the feed as a numeric ID or as the full text path (for example 212 vs Apparel & Accessories > Clothing) by going to Product Options > Print ID or categories. GMC accepts both; numeric IDs are shorter and unambiguous.
See Google Product Category Association for full details, including age group and gender settings.
Step 3: Locate Your Feed URL
After your first feed generation, the module writes an XML file to your server. The URL for that file is what you give to Google Merchant Center as the scheduled-fetch source.
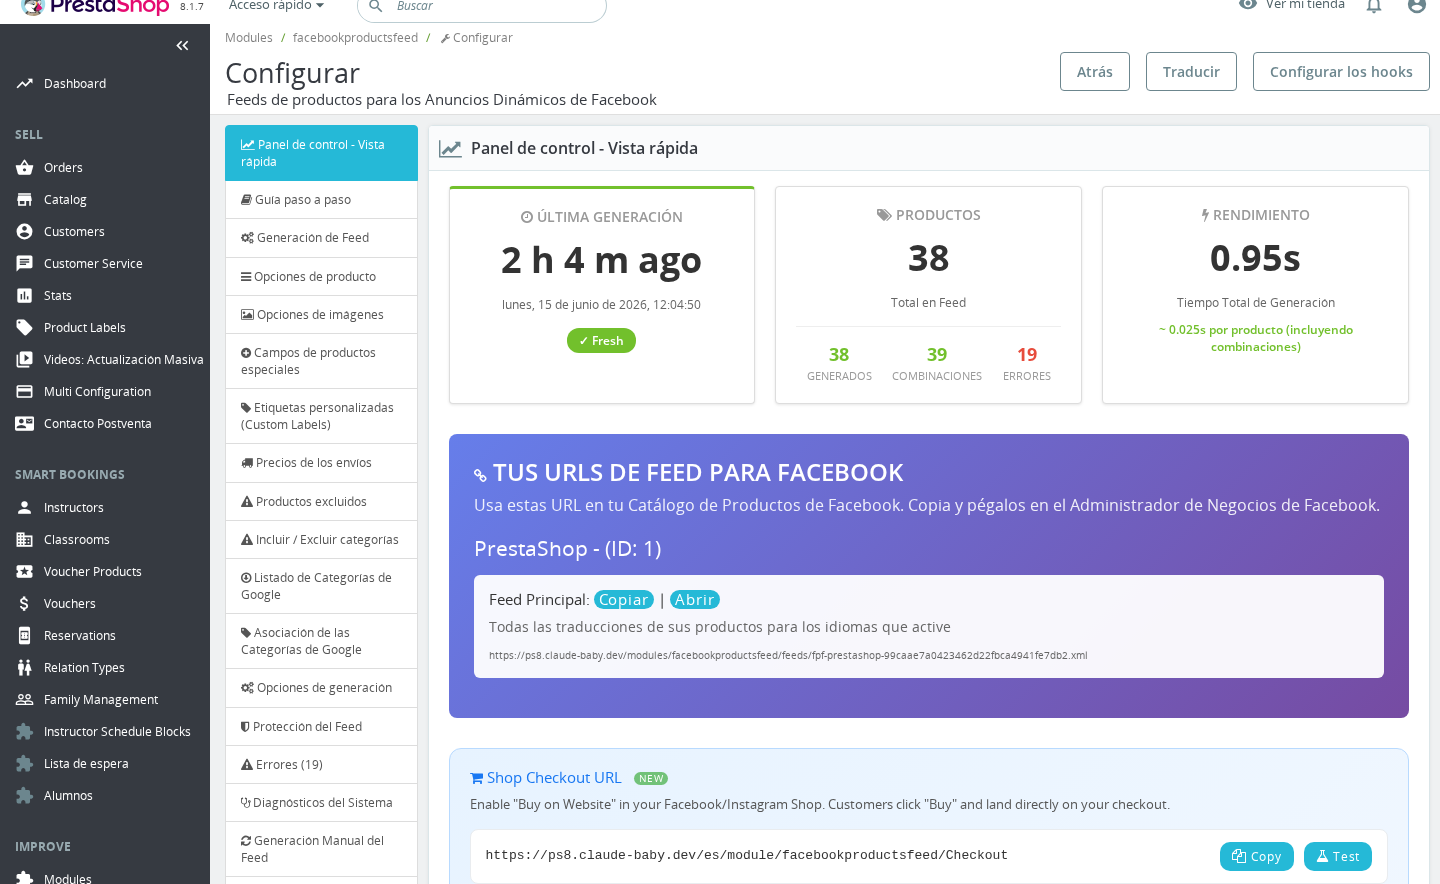
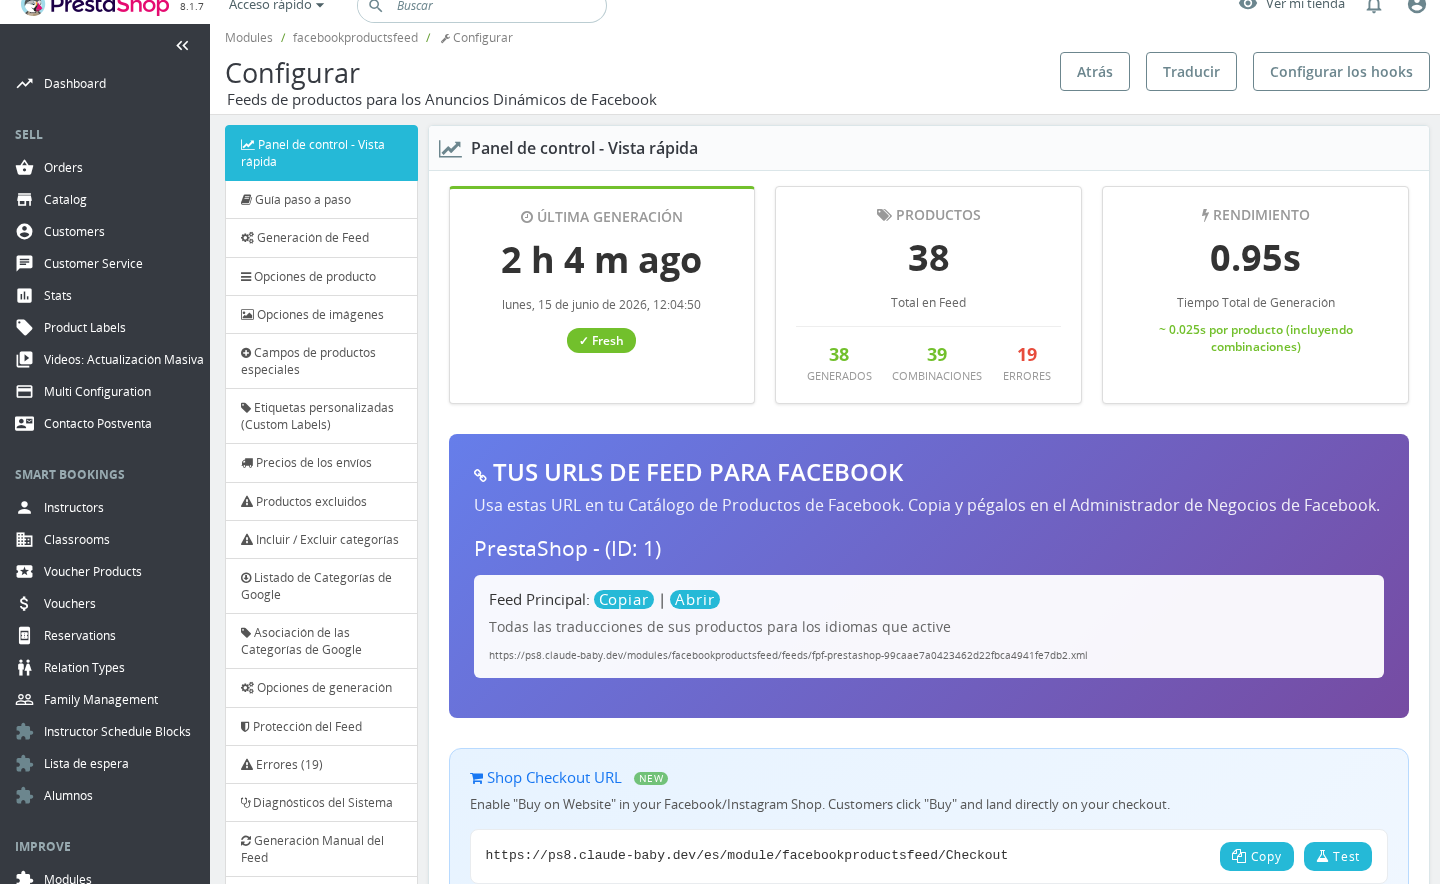
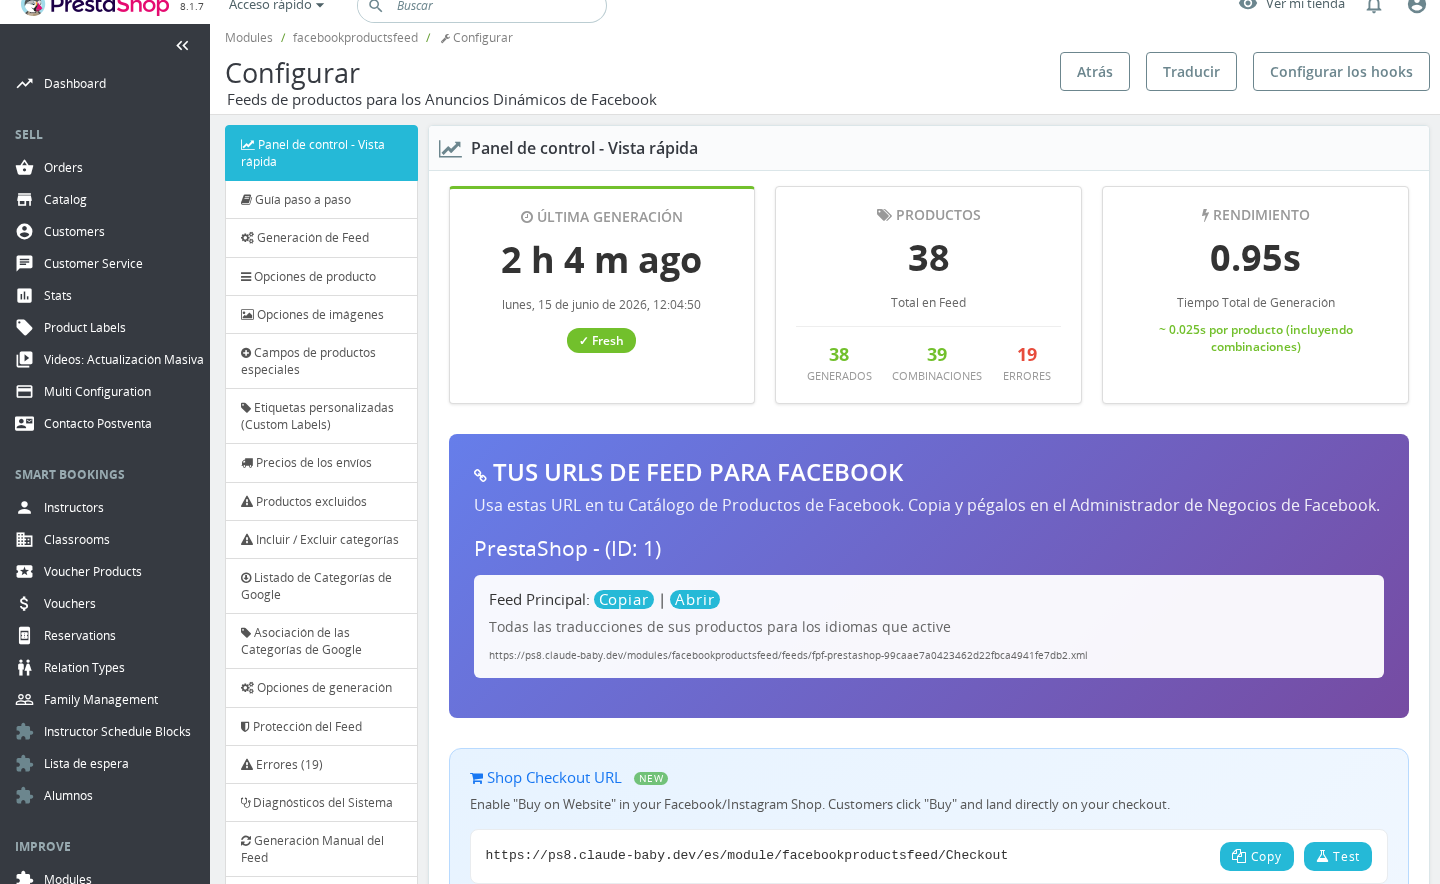
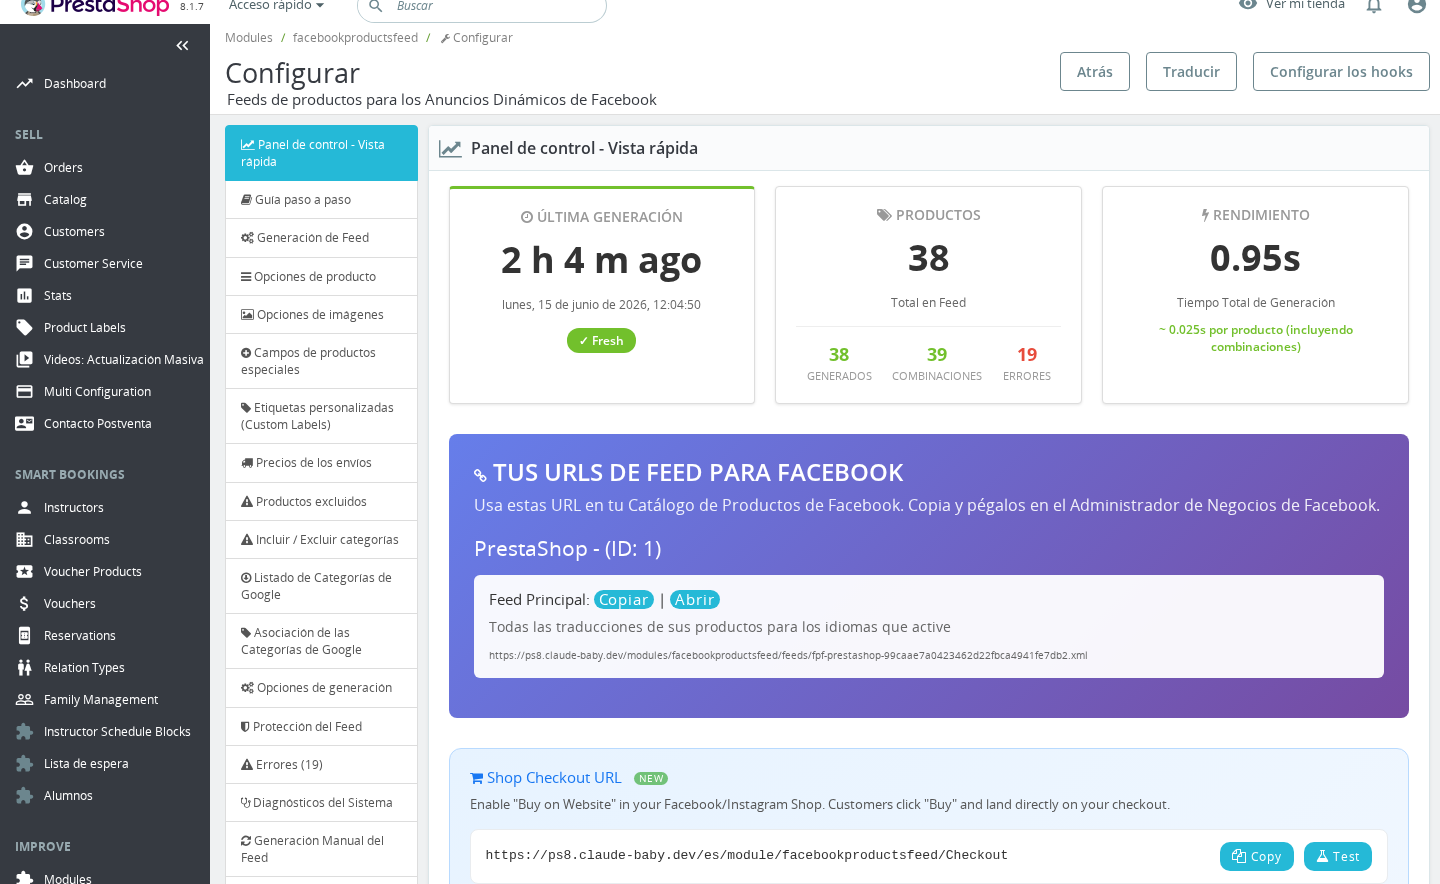
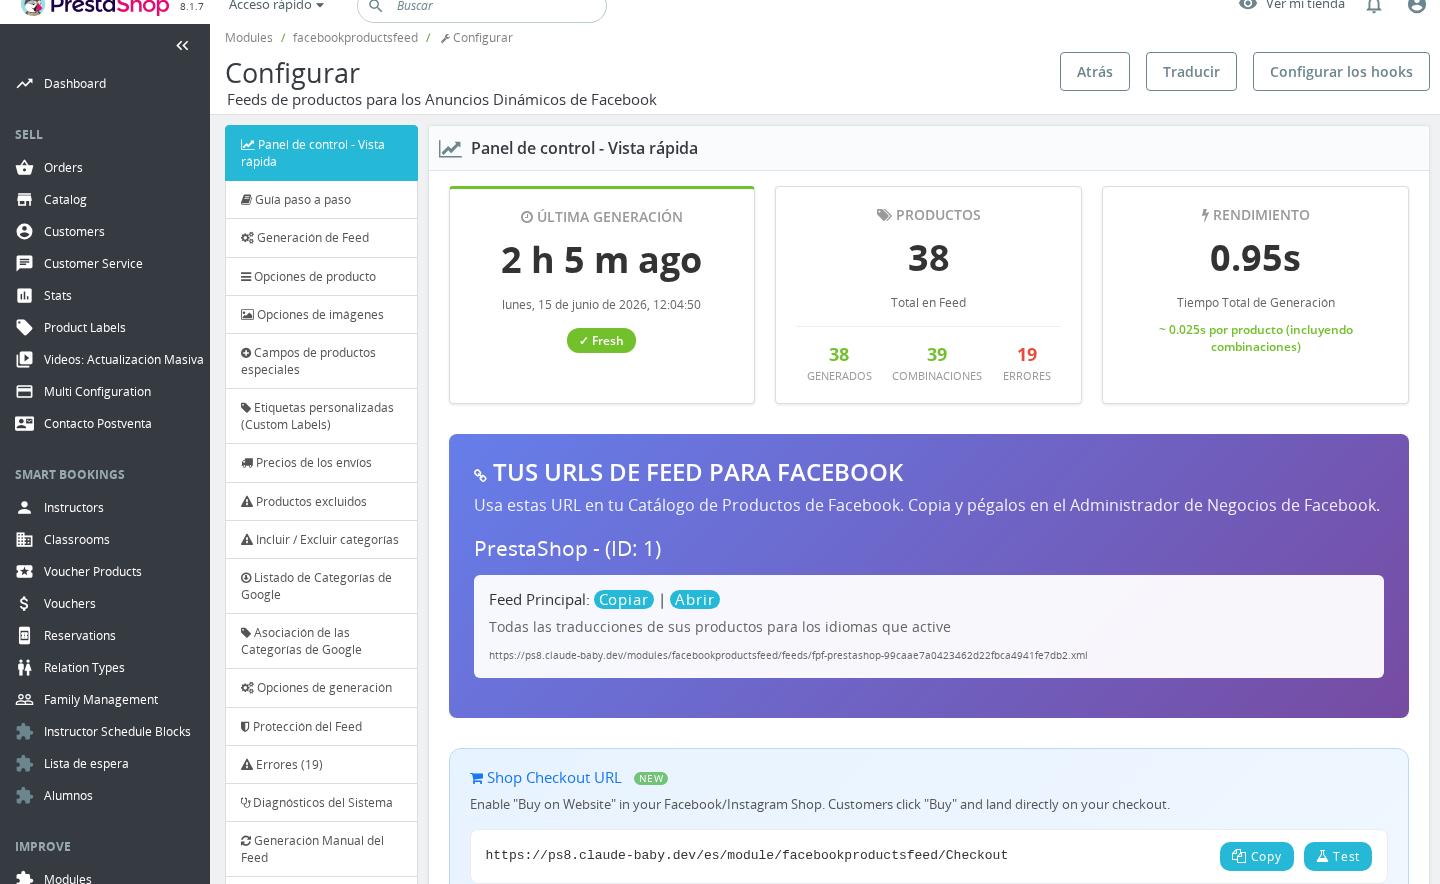
Go to the Dashboard tab (the Dashboard — Fast View panel). The feed URLs for each language and country feed are listed there. Copy the main feed URL — it looks like:
https://yourstore.com/modules/facebookproductsfeed/feeds/feed_1_en.xml
The feed URL contains no secret key. The secret key (
fpf_secret_key) is used only in the generation URL — the endpoint that triggers the module to build the feed. The published feed file itself is a static XML file, accessible without a key unless you have enabled feed protection (see Step 4).
Step 4: Handle Feed Protection
By default, feed files are publicly accessible. Depending on your security requirements, you may have enabled one or both protection features. Both affect how you configure the GMC scheduled fetch.
If You Enabled .htpasswd Feed Protection
The module can protect the feeds/ folder with HTTP Basic Authentication. When enabled, any request to a feed URL without valid credentials receives a 401 response — including Google's fetcher.
Go to Feed Protection to check your current setting:
Google Merchant Center supports username and password authentication for scheduled fetches. When configuring the data source in GMC, there is a login credentials section where you enter the username and password you set in the module. GMC passes these credentials on every scheduled download.
Important: The username and password you enter in GMC must exactly match the User and Password fields in the module's Feed Protection tab. If you change the password in the module, update it in GMC as well — otherwise Google's fetcher will receive 401 errors and stop updating your catalog.
Apache/LiteSpeed only. The
.htaccessfeed protection only works on Apache and LiteSpeed servers. If your store runs on Nginx, this feature has no effect and the feed is publicly accessible regardless of the setting.
See Feed Protection — HTTP Basic Auth for full setup steps.
The Generator Secret Key (Not Required for Feed Access)
The module uses a secret key (fpf_secret_key) as a token in the generation URL — the URL that triggers the module to rebuild the feed file. This key has no effect on reading the finished feed XML.
You never include the secret key in the URL you give to GMC. The key only belongs in your cron job command. GMC fetches the static XML file directly; it does not trigger generation.
See Feed Protection — Secret Key and Generator Basic Auth for full details on the secret key.
Step 5: Give GMC the Feed URL
In Google Merchant Center, navigate to your data source settings and add a new File data source using the Scheduled fetch method. Paste the feed URL from Step 3.
If you enabled feed protection (Step 4), also enter your username and password in the login credentials section of the GMC data source form. Leave those fields blank if your feed is publicly accessible.
Set GMC's fetch schedule to align with how often your feed regenerates. If your cron job regenerates the feed every hour, a GMC fetch frequency of once or twice per day is sufficient — Google does not need to fetch more often than products actually change.
Step 6: Keep the Feed Fresh with Automatic Regeneration
A GMC scheduled fetch always downloads the feed file that exists on your server at fetch time. If the file has not been regenerated recently, Google sees stale prices and availability.
Set up a cron job so the module regenerates the feed automatically before GMC fetches.
- Go to Modules > Module Manager > Facebook & Instagram Product Catalogue Feed Pro > Configure.
- Click the Automatic Generation (Cron Jobs) tab.
The panel shows a ready-to-use generation URL and shell commands for cURL, wget, and PHP CLI. Copy the command that matches your hosting environment and add it to your server's cron scheduler.
Recommended regeneration frequency for GMC use:
| Catalogue size | Recommended cron interval | Notes |
|---|---|---|
| Under 1,000 products (< 8 min to generate) | Every hour (0 * * * *) | Ensures GMC always fetches a file that is at most a few hours old |
| 1,000–10,000 products | Every 3–6 hours | Balance between freshness and server load |
| Very large catalogue | Every 6–12 hours | Use PHP CLI method or cycle mode to handle long generation times |
The module's panel displays these recommendations alongside the cron commands.
Align timing with GMC. If GMC fetches your feed at 08:00 daily, schedule your cron to complete regeneration by 07:50. The module's panel suggests aligning the cron minute with your expected generation time.
For large catalogues that need more than one HTTP request to complete, see Automatic Generation — Cron Jobs for cycle mode setup and PHP CLI instructions.
Summary Checklist
Before submitting the feed to GMC, verify:
- Feed has been generated at least once (confirmed in the Dashboard tab)
- Google taxonomy downloaded and categories mapped in Google Product Category Association
- Output format confirmed (ATOM XML or RSS XML — both accepted)
- Feed URL copied from the Dashboard
- If feed protection is enabled: credentials ready to enter in GMC
- Cron job set up to keep the feed current before each GMC fetch
Frequently Asked Questions
Which output format should I choose — RSS XML or ATOM XML?
Keep the default ATOM XML. Both formats are accepted by Google Merchant Center for scheduled-fetch data sources, but ATOM is the module's default and works reliably with GMC. Switch to RSS XML only if another platform explicitly requires it.
My feed is password-protected — will Google still fetch it?
Yes, as long as you enter the credentials in GMC's data source settings. When adding or editing the data source in GMC, there is a login credentials section. Enter the same username and password you set in the module's Feed Protection tab. GMC will send those credentials on every scheduled fetch.
Why does Google reject products for missing google_product_category?
The google_product_category field in the feed comes from the category mappings you configure in Google Product Category Association. If a product's default category has no Google taxonomy assigned, the field is absent from that product's feed entry. Return to the Association tab and map the affected categories, then regenerate the feed.
Do I need to include the secret key in the feed URL I give GMC?
No. The secret key (fpf_secret_key) only belongs in the generation URL — the endpoint that tells the module to rebuild the feed. The feed URL itself (the .xml file URL) does not require a secret key. Only include the key in your cron job or server-side generation command.
How often should my feed regenerate compared to how often GMC fetches?
Regenerate at least as often as GMC fetches, ideally more. If GMC fetches once daily, regenerate every 1–6 hours so the file is always current when Google downloads it. The cron job commands in the Automatic Generation (Cron Jobs) tab are ready to copy and schedule on your server.
I changed the feed protection password in the module — do I need to do anything in GMC?
Yes. Update the password in GMC's data source login credentials as well. If the credentials in GMC do not match the ones in the module, Google's fetcher will receive a 401 Unauthorized response and stop updating your catalog.
The feed URL I gave GMC returns a 404. What is wrong?
The feed file does not yet exist on your server. Go to Manual Feed Generation and click Generate Feed Now to create the file. Once the first generation completes, the URL becomes accessible. Then set up a cron job to keep it current.
Can I give GMC a different feed URL per language or country?
Yes. The module generates separate feed files per language and per country when you enable those feeds in the Feed Generation tab. Each file has its own URL. You can set up a separate GMC data source for each language or country feed if needed.